Jun 17, 2018
These are the final stages of the painting of the Iris In Watercolor:
All the shadows of the petals were blocked in and let to dry.
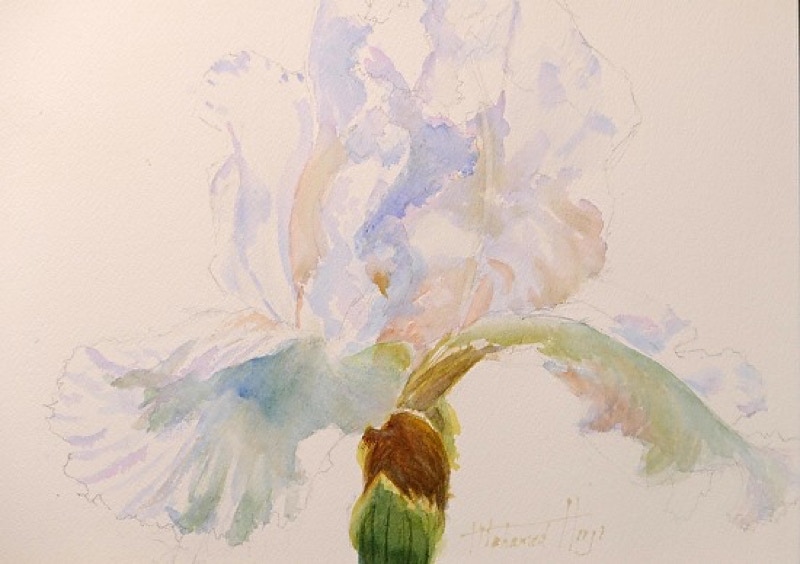
All the shadows of the flower painted.
I was asked which brushes did I use? I try to use the larges I can handle. For the flower, I used a #12 round, Kolinsky Sable brush which holds a lot of paint so large areas can be covered. Also, the tip comes to a very fine point so fine details are possible without resorting to tiny rigger brushes. The background was painted a little light so as to make it more luminous. The brush used for the background was a synthetic, 1" angled brush.
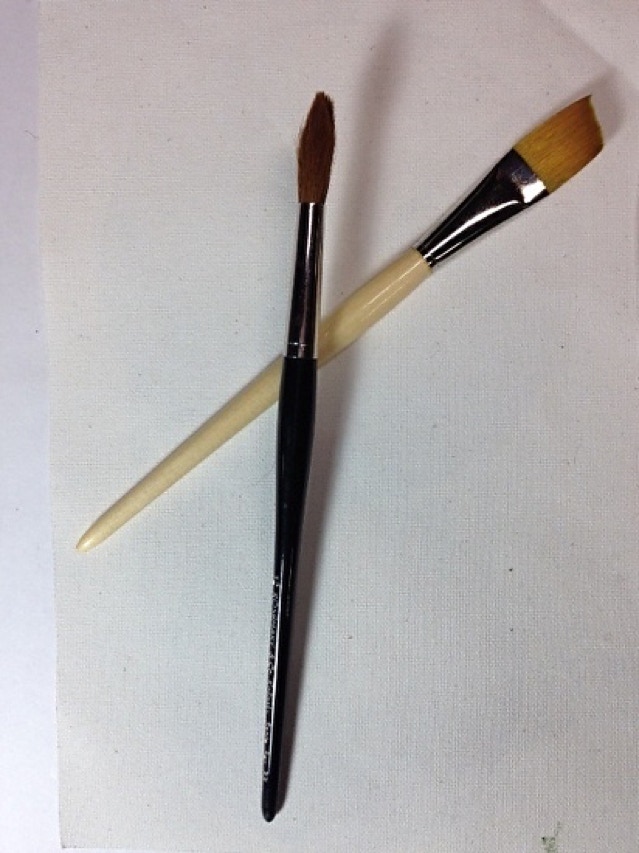
Brushes.
After painting in the background, wet in wet, I adjusted the values (lightness or darkness) of the shadows of the flower where necessary. Added some details and voila we have the completed painting ready to be mated and framed.
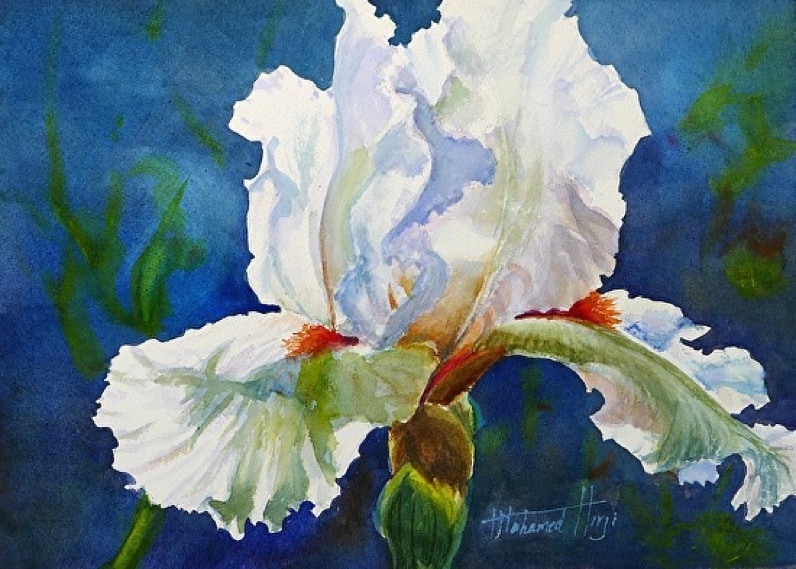
The Completed Painting Of The Iris In Watercolor
I hope you liked this blog. If you did, please share it with your friends and if you disliked it how about sharing it with your enemies?
Will be glad to answer any questions. Comments are welcome. I would like to know which blogs you prefer, these paint alongs or the instructional ones?
I may paint this in acrylic as well to see the difference. Stay tuned and subscribe to my newsletter so you receive this in your mailbox as soon as it is published.
Mohamed Hirji